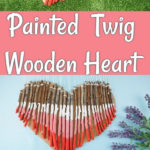
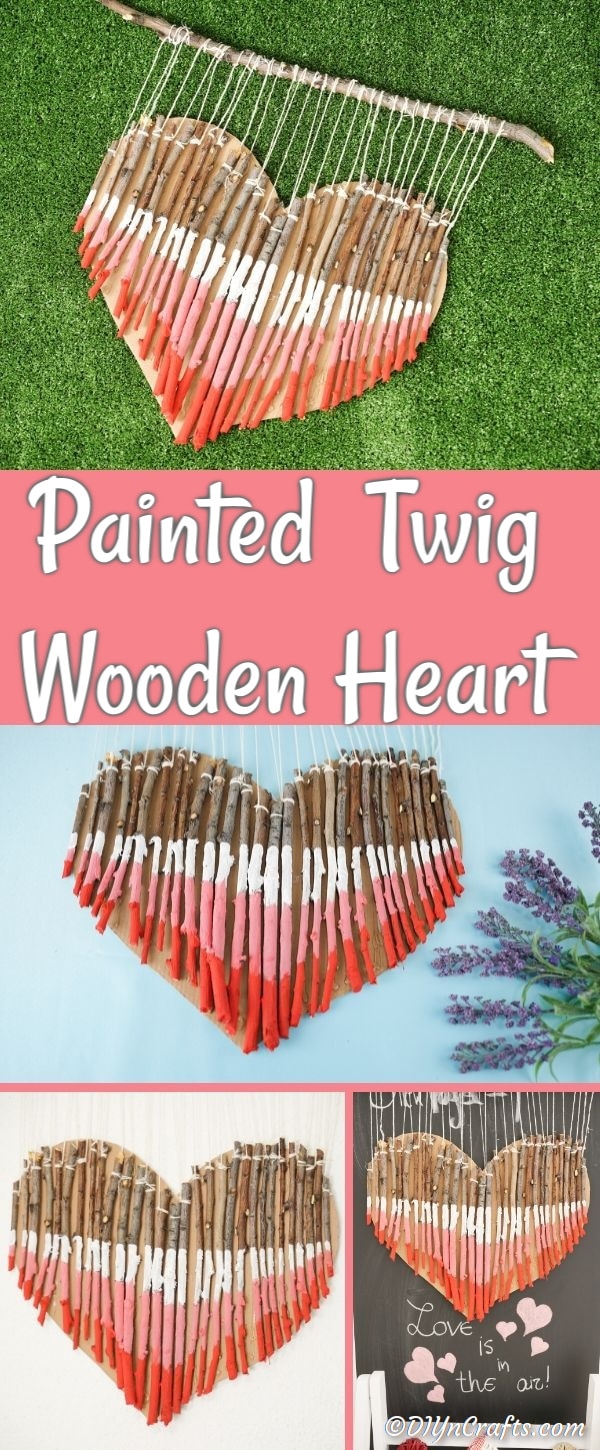
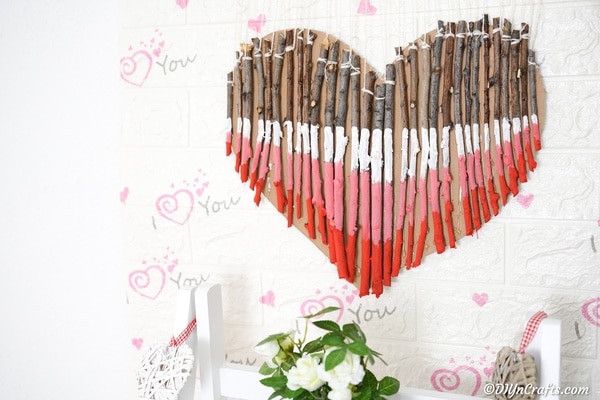
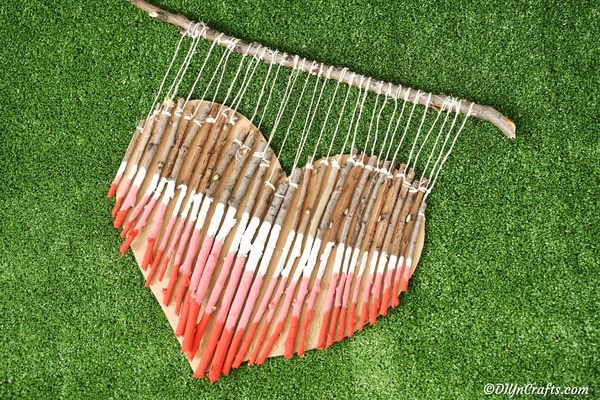
Rustic Painted Twig Wooden Heart Decoration
I beloved repurposing items for decorations. This rustic painted twig wooden heart is a great way to use some bits and pieces of trees outside to add a beautiful Valentine'south Day decoration.
All y'all have to do is grab a bit of cardboard, some paint, and go outside to pick up sticks. The residual is easy to assemble and perfect for adding to a wall or door!
Painted Twig Wooden Heart Decoration
I've often been out on a walk around the neighborhood and been inspired. My new home is surrounded by copse and forest state, so finding twigs and branches on the path is common. I stumbled on a little frame made of wooden twigs at Hobby Lobby, then saw a bunch in my backyard, and well, this is the result.

The combination of a few twigs, some glue, paint, and paper-thin and bam! I made this great little decoration that is ideal for hanging on Valentine's Day.
If you lot desire to add a little something extra to your Valentine'southward Mean solar day decor, you could brand this music sail lantern, and add Valentine's Day embellishments to it instead of Christmas and make information technology unique to the holiday. Other options are these beloved lights or this heart lantern. All are great to go along with my newspaper hearts garland for a complete beloved themed decoration.
Can I Apply Spray Paint Instead?
You definitely tin can use whatever paint y'all desire for this project. I personally find the rustic craft pigment to be perfect, merely spray pigment could piece of work. Particularly if y'all are making multiple wooden heart decorations. Just apply an actress slice of cardboard and lay over the area yous aren't painting to create the aforementioned striped look y'all achieve with craft paint.
What if I Don't Have Twigs to Use?
The great thing about this thought is that you tin truly use annihilation to create the heart. You lot could easily apply plastic straws, dowel rods, wooden pieces, or even brand a larger eye using things like PVC pipes or puddle noodles. There are truly no restrictions for this arts and crafts project. Make a eye decoration with truly annihilation you have on hand, whether it is wood or not!
If you do have extra twigs, you can check out this listing of dwelling and garden projects using twigs for some ways to use the actress effectually your home! You could even emphasis this rustic twine wrapped vase with a few twigs for a more authentic look.
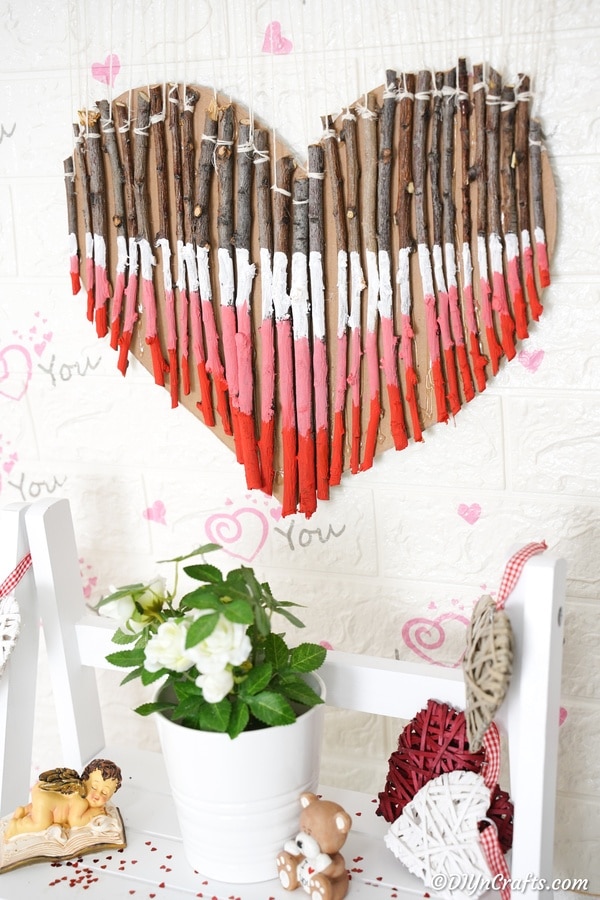
Where Should I Hang This?
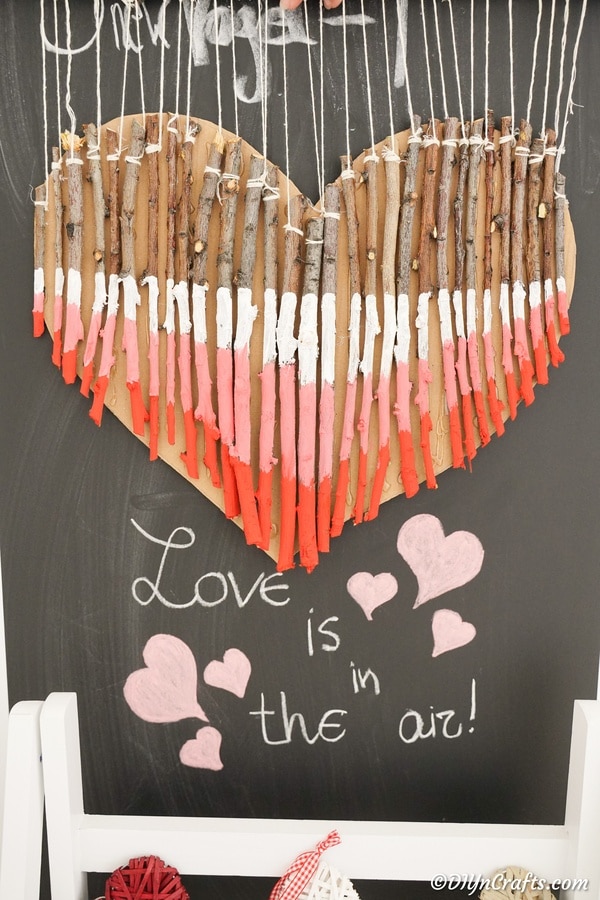
This is a beautiful wall decoration like I show in the pictures, but in that location are tons of other ways to brandish this decoration. It tin can be propped on a drape, hung on the door instead of a wreath, or even lay it on the tabular array as function of a centerpiece. If you make in various sizes, you tin create a great group of rustic hearts on the wall!
This looks great on your door, but if you adopt to hang inside, you tin add together this no-sew material Valentine's twenty-four hour period wreath to your door instead. You lot could even hang this wooden heart on your neighbors front door forth with a note from this "You've been cupid struck" game every bit a fun way to share the season of love!
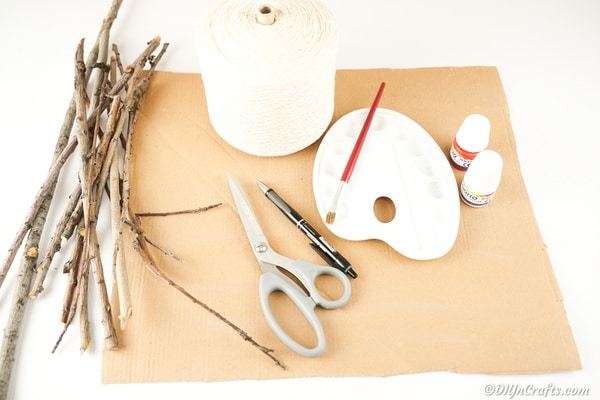
Supplies Needed
- Paper-thin
- Twigs or branches
- Red paint
- Pink paint
- White paint
- Twine
- Garden shears
- Hot glue gun and glue
- Pen
- Paintbrush
How to Make a Wooden Middle Decoration
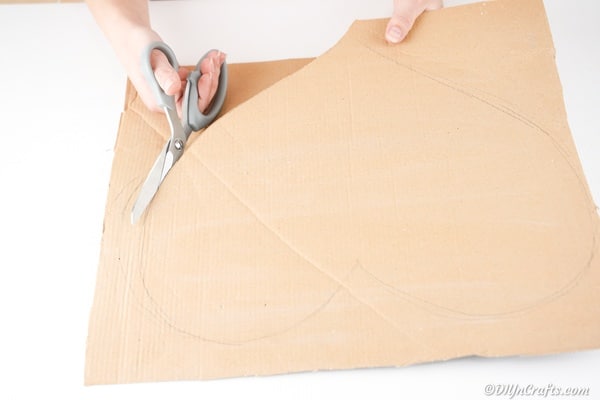
For this heart, you lot will begin by cartoon a large heart onto a piece of cardboard, and then cut information technology out and fix it bated.
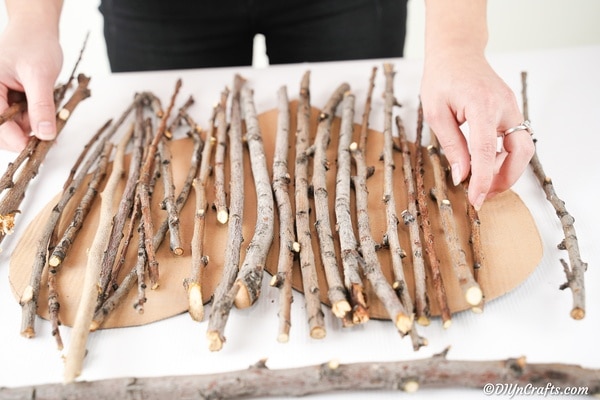
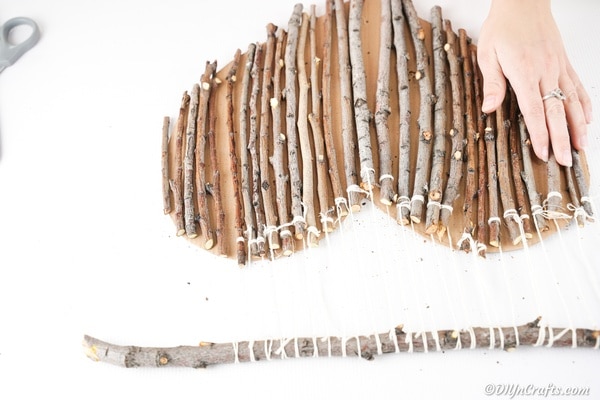
At present, y'all will lay twigs across the heart-shaped cardboard until you have it covered.
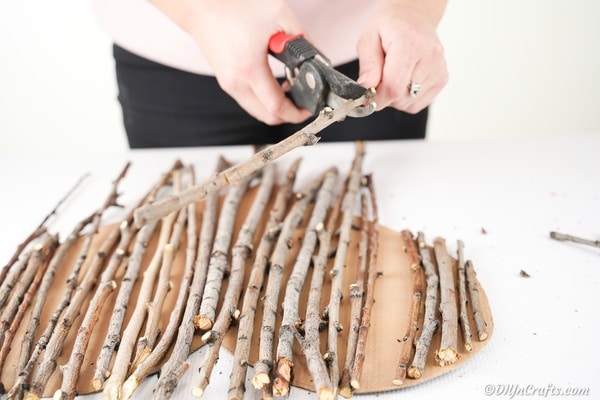
Next, use a pair of garden shears or snippers, and trim the twigs then that they are the length and fit of the centre.
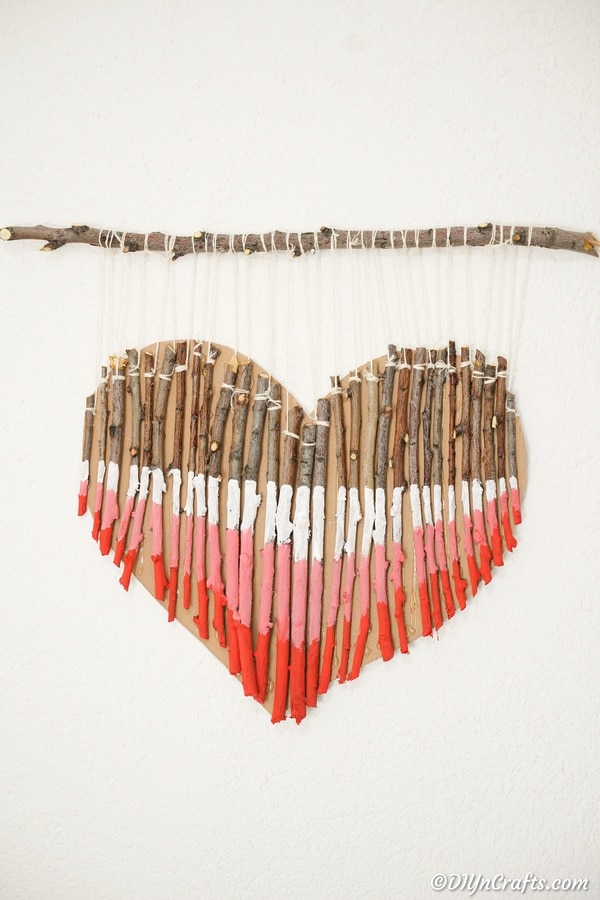
At present, you lot will tie a small fleck of twine around the top of each twig, with at least 5″ extra hanging off the end.
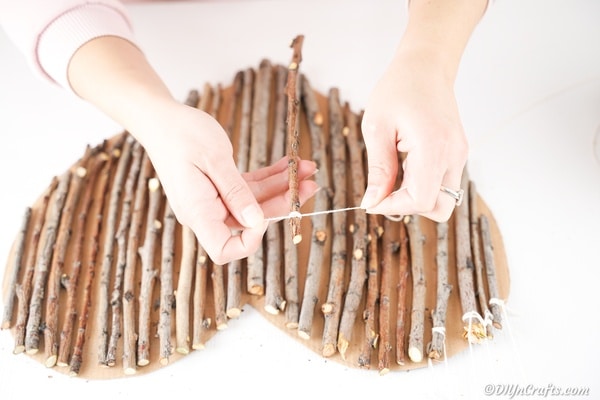
Now, you will accept the extra length of string and tie to a longer twig you have lain horizontally above the middle.
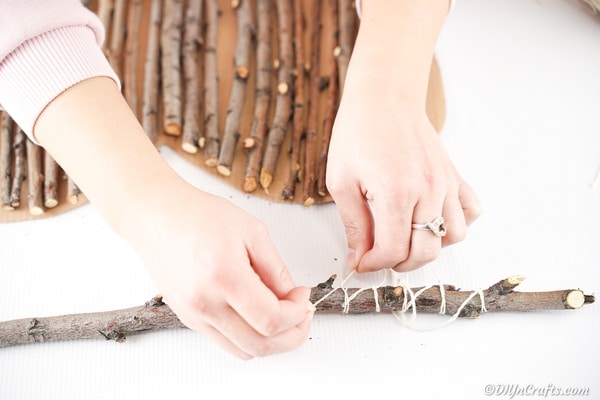
Continue until all twigs have been tied in place on the long horizontal branch.
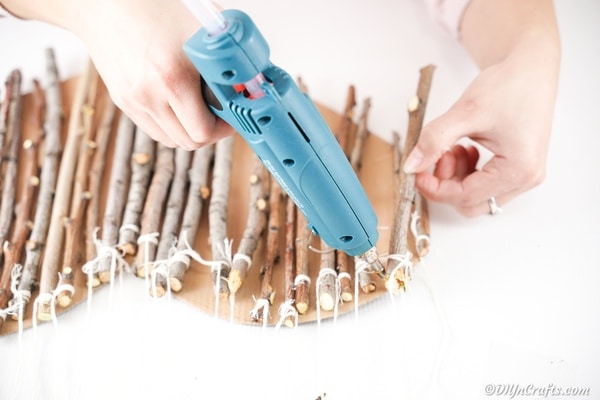
Once you lot have all of these tied in place, you will begin gluing the twigs in place on the cardboard.
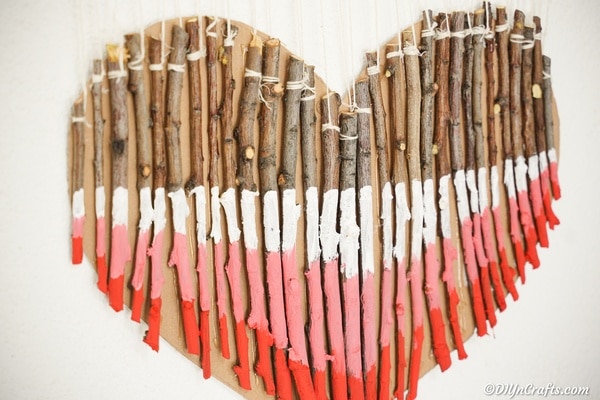
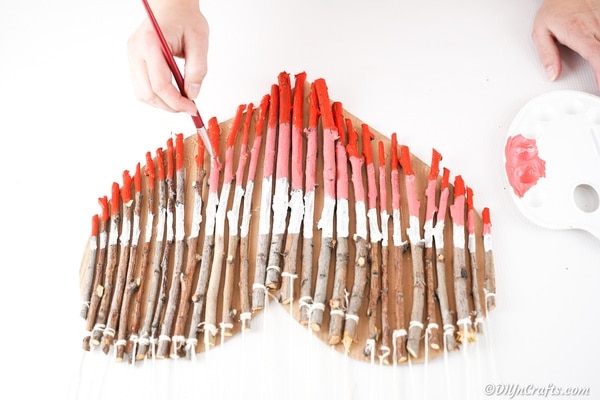
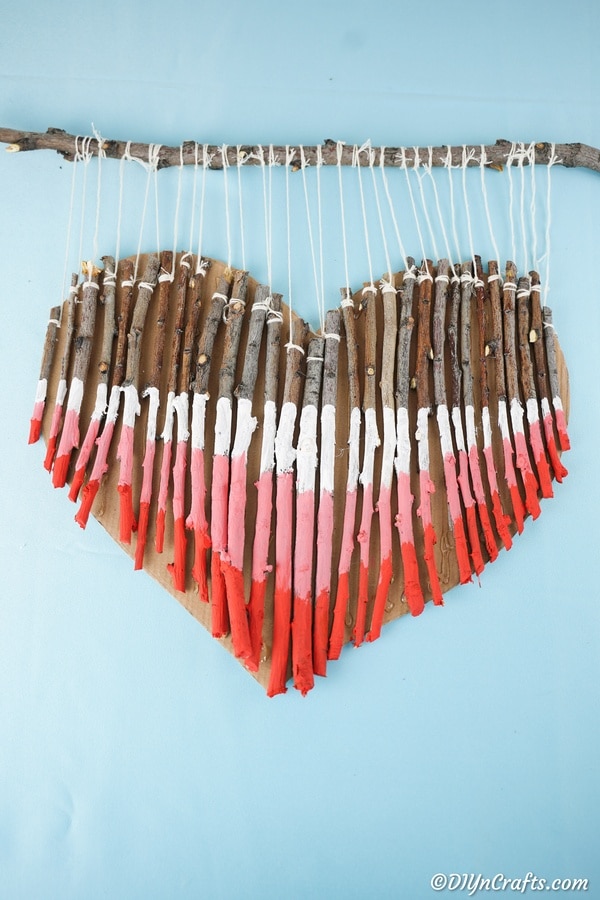
Now, you volition begin painting the twigs. Outset with red on the bottom for just a small portion of the twig.
Next, you lot will add a line of white near 1/3 the way down from the pinnacle of the heart.

Paint a pocket-size line of white pigment downwardly around 1-2″ depending on the expanse of eye as shown below.
At present, you will fill in the area betwixt the reddish and white with pink paint.
Now, allow the paint to dry and hang on the wall or door.
Printable Step by Step Photo Tutorial:
Prep Fourth dimension x minutes
Active Fourth dimension 25 minutes
Total Fourth dimension 35 minutes
Difficulty Medium
Estimated Cost $one
Materials
- Cardboard
- Twigs
- Red pigment
- White pigment
- Pinkish paint
- Twine
Tools
- Garden shears
- Pen
- Scissors
- Hot glue gun and glue
Instructions
- Begin by tracing a heart shape on a large slice of cardboard, then cutting information technology out and ready aside;
- At present, gather your twigs, and lay them in an fifty-fifty layer across the cardboard;
- Measure and snap the ends off of each twig so that they only fit inside the heart shape;
- At present, you volition tie a bit of string or twine to the end of each twig at the superlative of the heart, leave a length of 5" or more to the meridian of each twig;
- Adjacent, necktie the stop of the twine onto a larger horizontal twig or co-operative;
- Once all twigs have been tied in place, you lot will begin gluing them to the cardboard heart;
- When the gum has dried, you will then begin painting the lesser of the heart shape with carmine craft paint;
- Next, add a line of white paint about 1/3 downwards from the height of the heart, and paint a stripe of white pigment leaving infinite between it and the ruby paint;
- Finally, fill in the area between the white and ruddy with pink pigment;
- Prepare the middle bated to dry out, then hang on the wall or door as desired.
Notes
Add a sprinkle of glitter over the pigment before it dries for an added "boot" of sparkle.
browntileords1999.blogspot.com
Source: https://www.diyncrafts.com/77877/valentines-day/twig-wooden-heart-decoration
0 Response to "Rustic Painted Twig Wooden Heart Decoration"
Post a Comment